


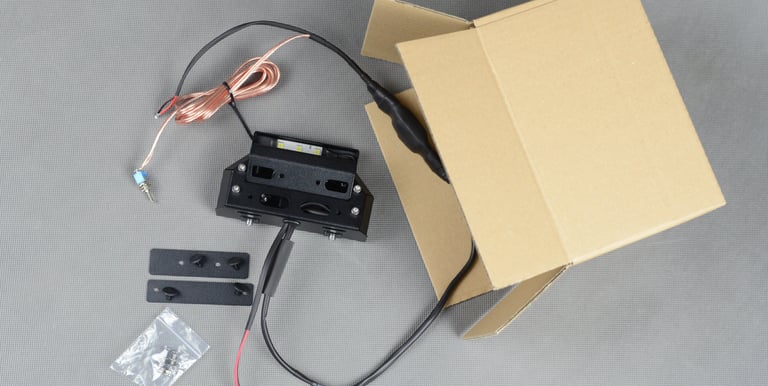
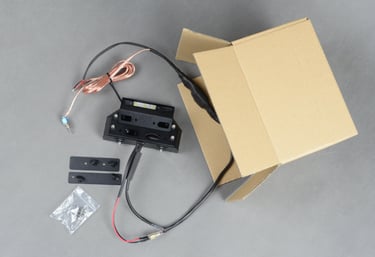
Step by step installation of the plate flipper:
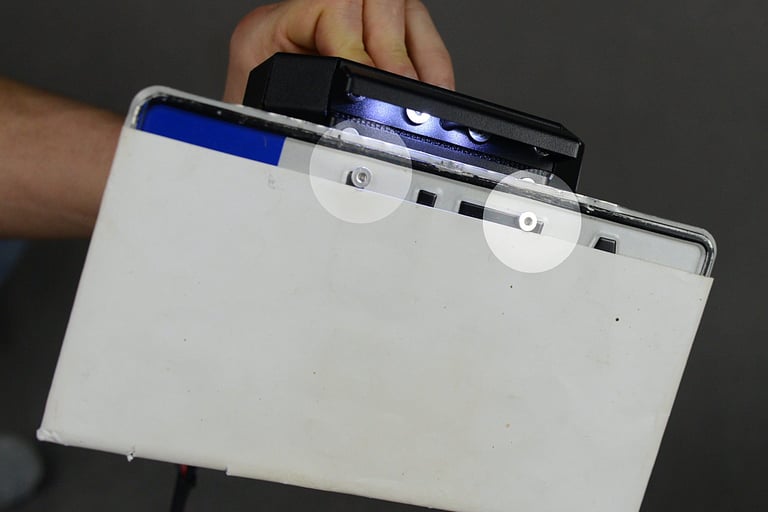
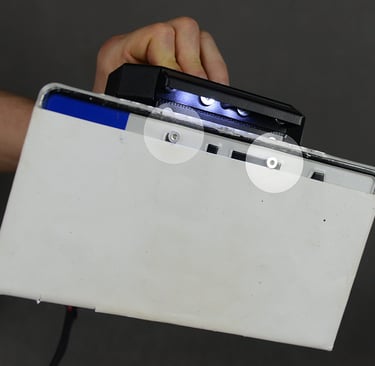
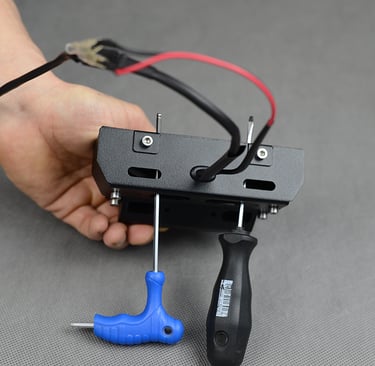
Here are the license plate attachment points.Mounting points can be slid horizontally in order not to drill the numbers on the plate.
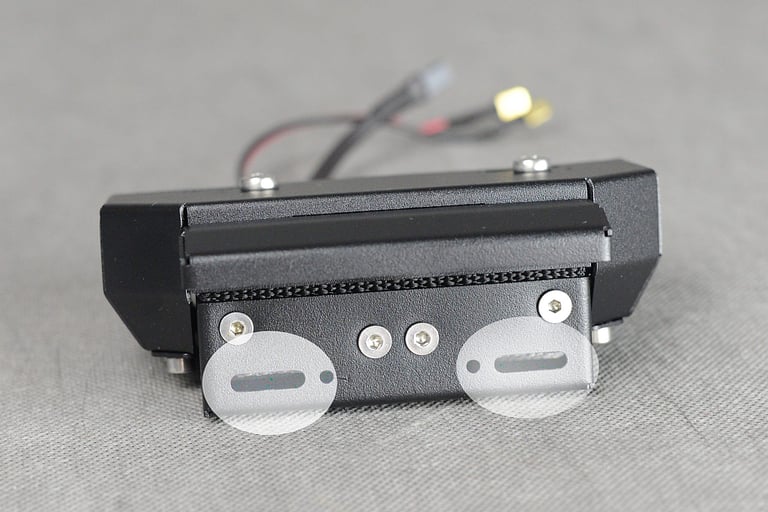
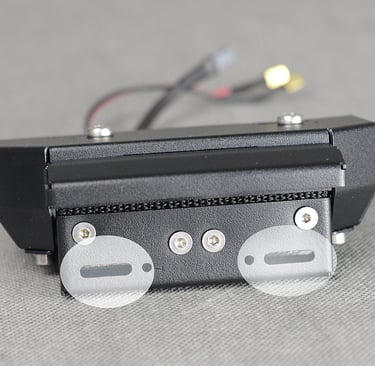
Rear mounting holes to screw and fix the plate.
Drill the holes 17mm from the top of the plate. Screws are
included (A2-M4)It is very important to keep this distance otherwise the plate
will not flip up well.When you put the plate on the device -before you drill it- set out at upper position. If you set it too close toward the LED lights, the plate will fouls then the servo will strain (sounds noisy) and overload the controller. The perfect position, when the servo stays quiet after operation (switch up or down). Drill the holes (M4) on the plate 17mm from the top.
Fit the flipper to your bike with your specific screws.(Screws are not included in the package because it is bike type specific… M4 or M5 or M6 etc.)

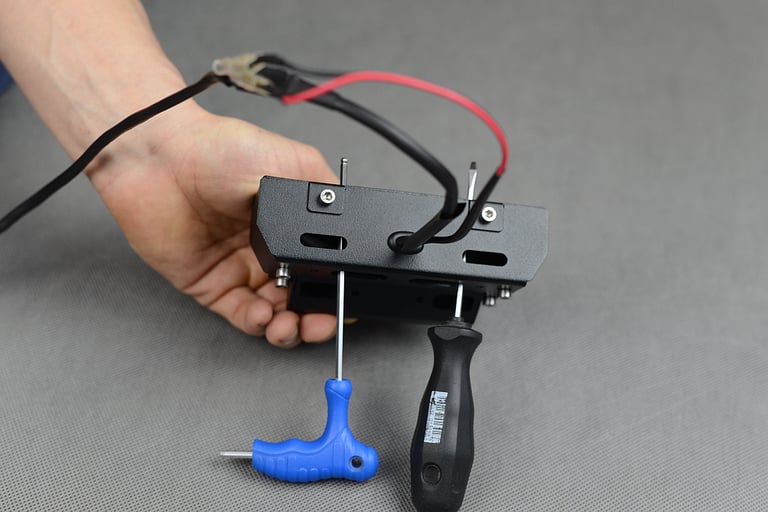
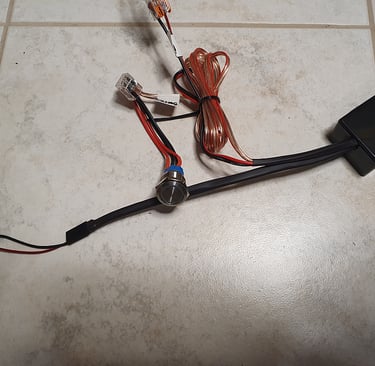
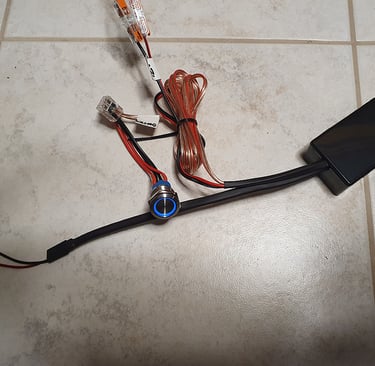
Connect the flipper to the bike electricity network with the shorter wire. The shortest cable is the main circuit black is – (ground), red is +12V (It has reverse-polarity protection), but please never touch the naked cables to each other, a short circuit can destroy the controller. Use soldering iron to attach the wires, then wrap them into plastic shrink wrap.
The longest cable is the switch, polarity does not matter, try your older switch and if it works, use it.
Please mind if you connect 12V into the switch cable it will burn the controller.
ATTENTION!
Loose connections make the servo criss-cross moving all the time, and could overload and burn the controller. Please always use soldering iron.
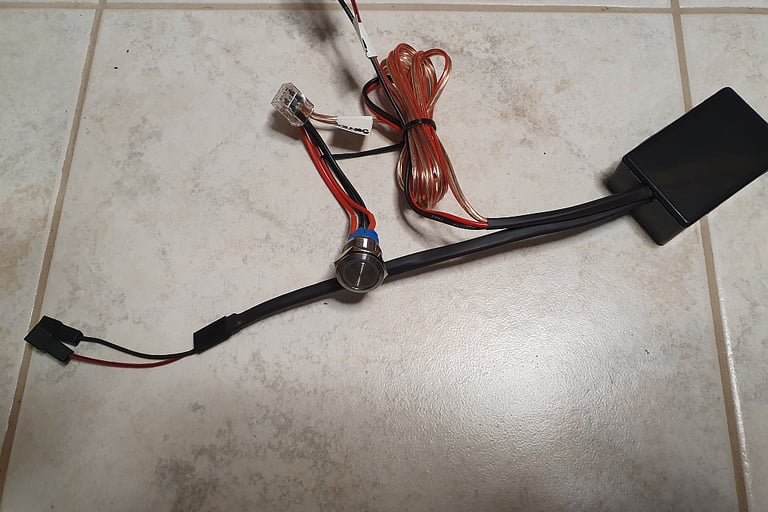
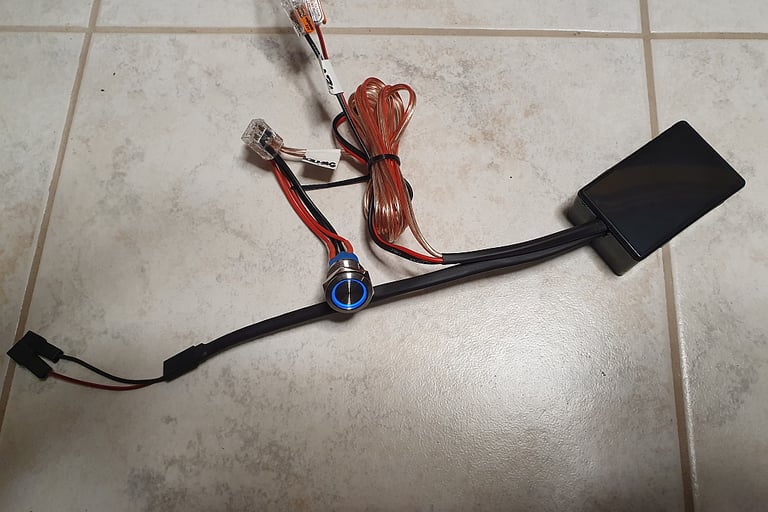
Put the microcontroller (the big shrink-wrap) up some very safe place, like under the seat next to the battery. The electronic has a diode against any transient (power surge)
The servo is water stable (as factory says) and we made the controller moist-proof as well, but you wouldn’t rather wash it directly with high pressure washer! (Like other electrical-controllers in the bike) When you put the plate on the device -before you drill it- set it at upper position. Then down. Play with it, try some times; mark the two holes with ink-pen, then drill, when you get the best points. If you set it too close toward the LED lights, the plate will fouls, then the servo will strain (sounds noisy) and may overload the controller. The perfect position, when the servo stays mute after operation (switch up or down). Otherwise, there is no problem, when you hear a quiet buzzing, we have the electronic with a professional step-down voltage regulator what makes the device totally heat- and overload-proof and made it more strong and silent.
We set the flipper’s wires into the rear light’s circle (not directly to the battery), because if you turn the key off, then the lights turn off, as well as the flipper’s electronic (servo and LED) is turning off.
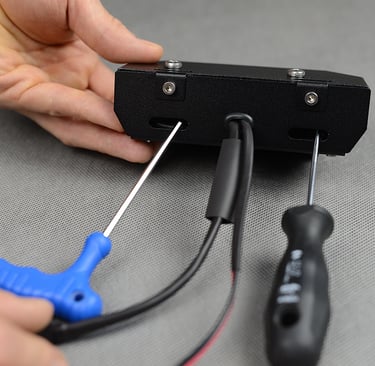
If you would like to attach the rear signals to the flipper, screw out the 6 pieces of M4 screws, then drill the body carefully. Use HSS-Co; (cobalt edge) drill. With normal metal drill you gonna waste your time, and may ruin the body.
The controller is of our own design. The semiconductors are made in the USA (not China), the motherboards are installed using a high-tech German soldering robot. After each piece is assembled, they are subjected to several days of voltage testing.
The servo motors are metal gear, high-torque, digital type, so their angle is very accurate and thanks to the ingenious program -which is written on it- it slightly corrects a few degrees after each raising and lowering so that there is no tension in the servo arm (which is also metal), which could lead to possible servo whining, or in extreme cases, servo arm or hook bending.
Since it is almost impossible to obtain a military chip, unfortunately it is sensitive to strong electromagnetic radiation, (like all electrical gadgets) the controller must be protected from these. It will be sent in electrostatic packaging during shipping.
The switch is a stainless steel professional push-button design, with a push button inside and an ice blue LED ring around it showing the status. It can be used to monitor whether the holder is folded up or folded down while traveling. Of course, it can be freely replaced by swapping the cables. (It can be replaced with any other switch if you don't like it.)
I made the connections with WAGO quick connectors, of course these can be replaced with fixed soldering after the final installation. In this case, please cover the soldering points with shrink tubing.
The servo I use is still in use after more than 10 years of experience and I can say that they do not fail.
So the unit does not need to be serviced.
The control unit is a bit more sensitive, but it is much easier to replace. If it fails, it is not worth repairing, I will simply send you a replacement part (without a switch) and in a few minutes you can re-attach it to the already installed unit on your bike.
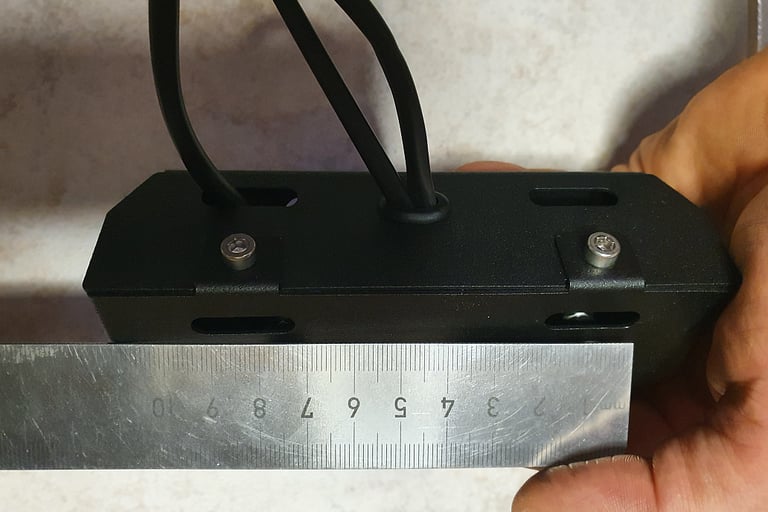
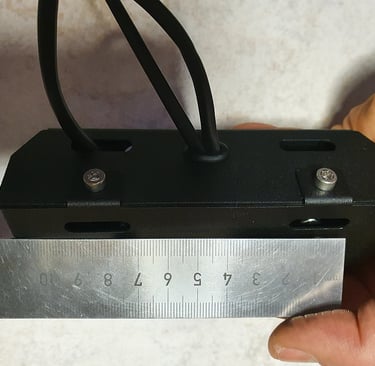
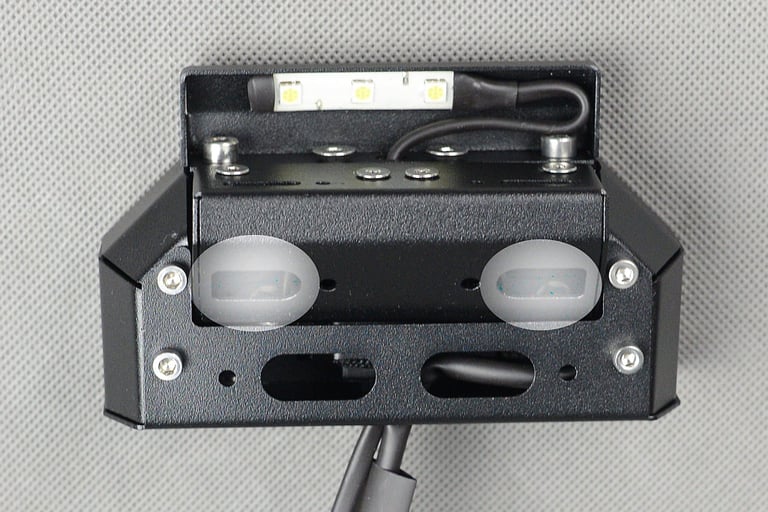
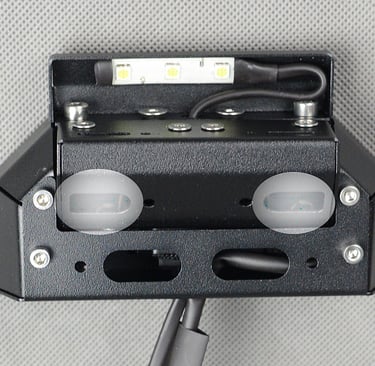
The dimensions of the attachment points are shown here.
Motorcycle Plate Console Kit
We provide high-quality motorcycle parts, license plates, and accessories for all motorcycle enthusiasts.
Custom License Plates
Design unique motorcycle license plates tailored to your preferences and specifications for a personal touch.
Expert Consultation
Our knowledgeable team offers expert advice on motorcycle parts and maintenance to enhance your riding experience.